When it comes to manufacturing, inconsistency is generally bad. If there is currently anything inconsistent about 3D printers, it’s the massive spectrum when it comes to the pricing offered by the various manufacturers. Looking at the TopTenREVIEWS page for 3D printers, the rough correlation is that the price of the printer goes up with the build size. Also, it is obvious that ones looking like they might arrive in pieces inside a kit rather than fully assembled will dangle a price tag in the hundreds rather than thousands. After a few successful experiences with 3D printing for rapid prototypes during my last project I was debating the idea of owning a printer myself, but couldn’t pull the trigger due to the mixed reviews surrounding some of the popular ones, and the prospect of owning a paperweight worth a couple of grand as a result of broken extruders, belts, etc. was a daunting one.
I grappled with the decision until I came across the Tom’s Guide article Best 3D Printers 2014 which heralded the Da Vinci by XYZprinting as the best budget 3D printer. At $499 USD ($599 + tax here in Canada), it is priced for serious market disruption. With a generous build size of 7.8″ x 7.8″ x 7.8″ and delivered fully assembled and enclosed in a pleasant-looking polycarbonate enclosure, it is undercutting the competition by a large margin. It claims to be able to print as fine as 100 microns, keeping in line with many of its higher-end peers. It’s priced like an ambitious kickstarter project, but what many don’t know is that the parent company of XYZprinting is the multinational Asian conglomerate Kinpo Group with head offices in Taiwan. They make everything from LED lights to DSL modems. Unlike its pure play competitors, XYZprinting’s foray into the field of 3D printing is an interesting one, considering its roots. What appealed to me was the warranty (6 months on the extruder, motors, and heated bed, 1 year on everything else), and the notion that the build quality of the Da Vinci should reflect the QA practices of its owner, the Kinpo Group. The price was below my risk threshold. For me, it means that I can dabble in the field without losing my shirt, and I may be able to recover the cost in a short amount of time by lining up a few 3D printing jobs. After enough pondering I contacted my local distributor (Studica) and picked one up!
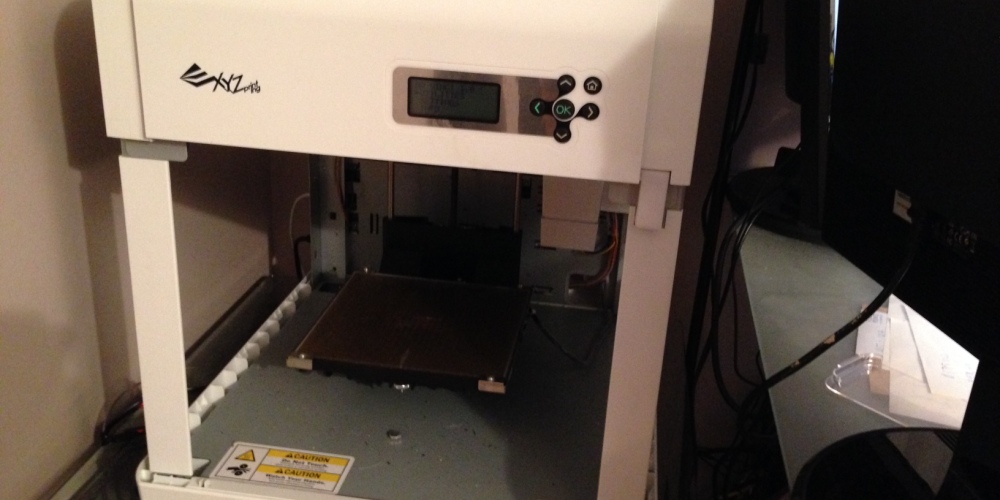
After unboxing, setting it up, and using it a few times, here are some shots –
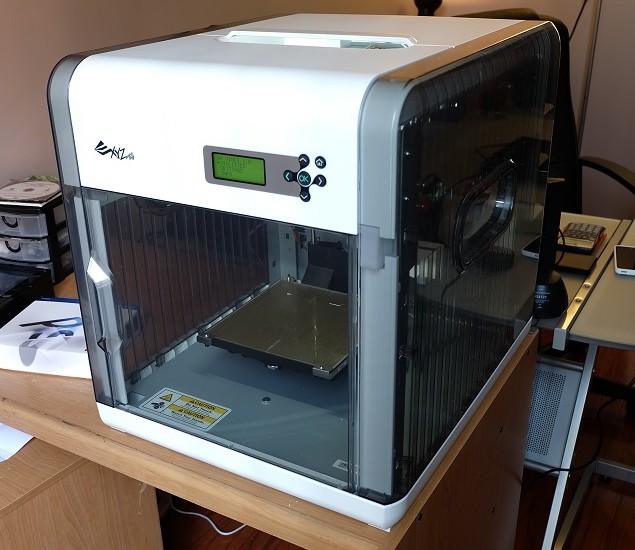
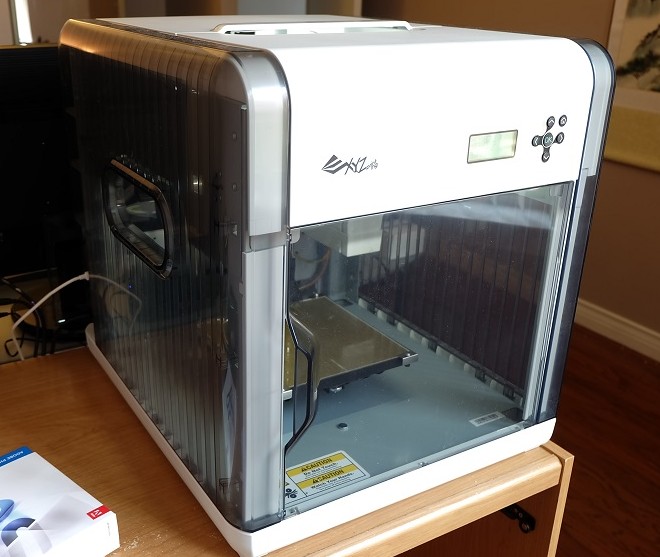
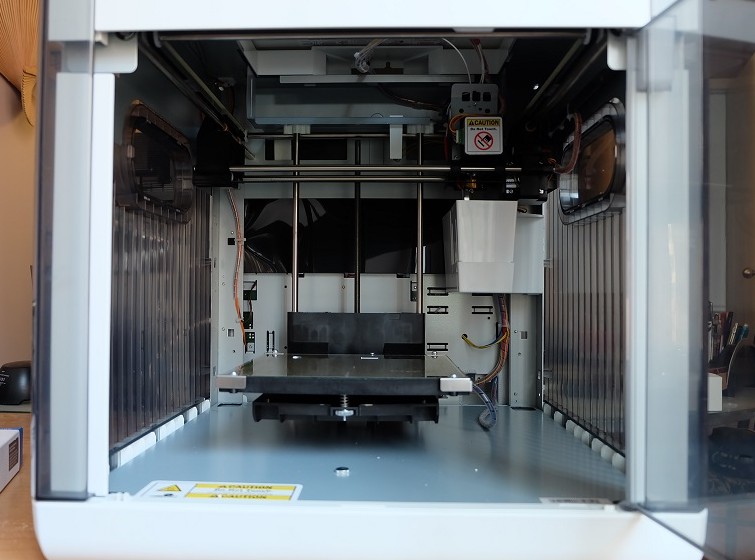
It was larger than I envisioned. The machine has already claimed a generous chunk of my office!
Shots of the inside –
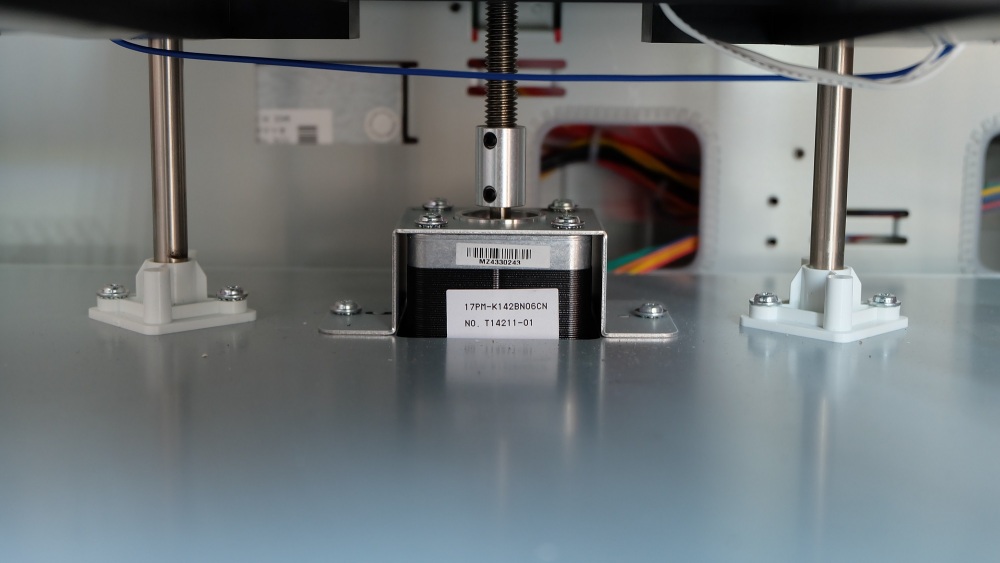 Z-axis servo motor driving a threaded rod with A LOT of threads per inch
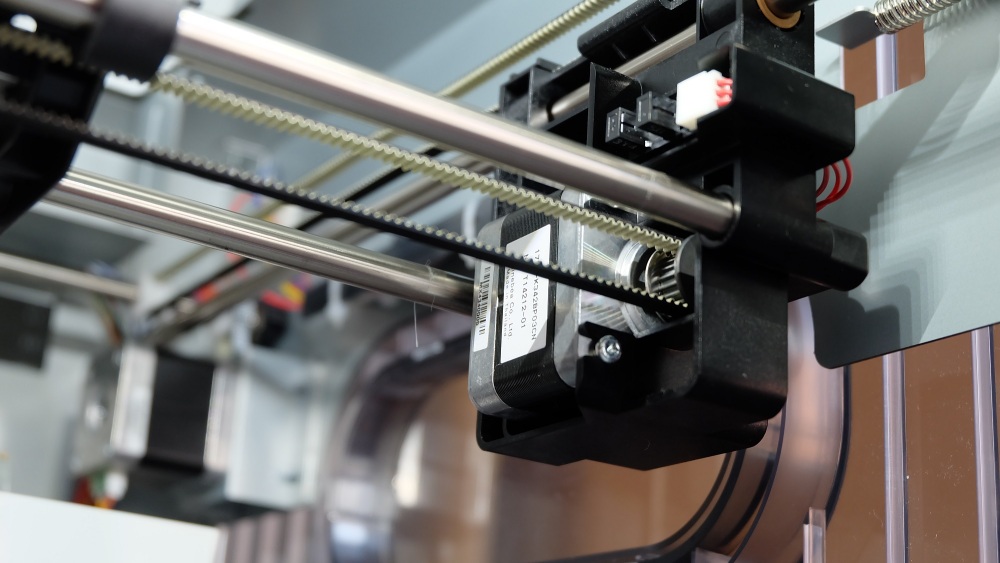 X-axis servo motor, Y-axis motor in the background
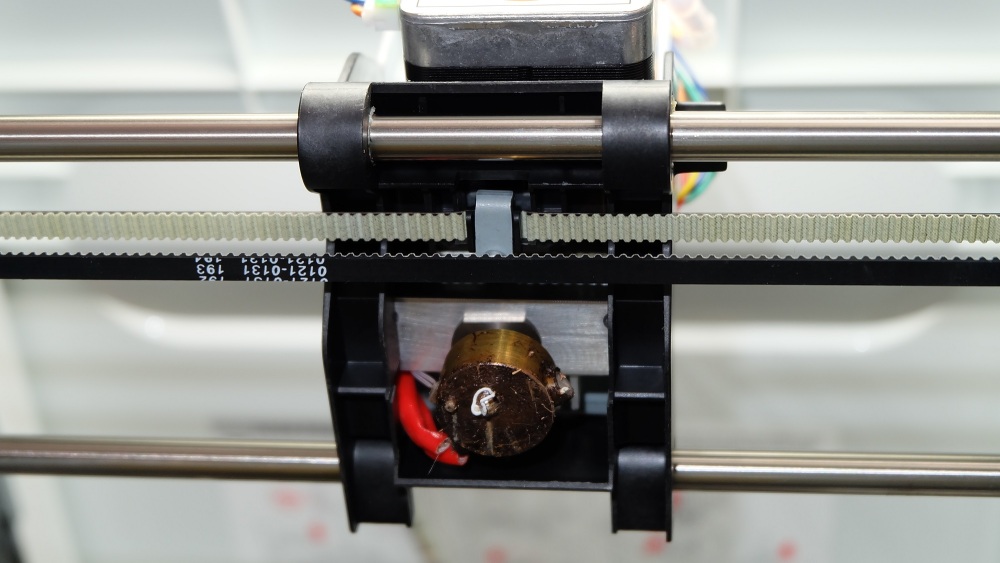 Extruder after a few uses. Notice that like a tube of caulking, some polymer will seep out after it has finished building
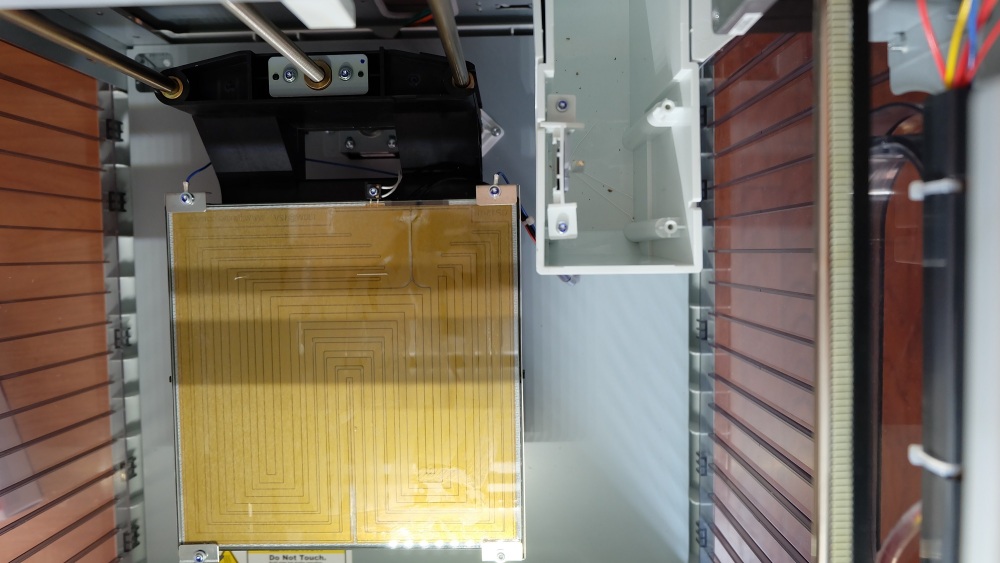 Build platform with heat tracing circuit visible. To the right is a “drip tray” where the aforementioned polymer seepage is automatically scraped off and collected before the next build is initiated. There is a metal scraper mounted on the left side of the tray (not in focus).
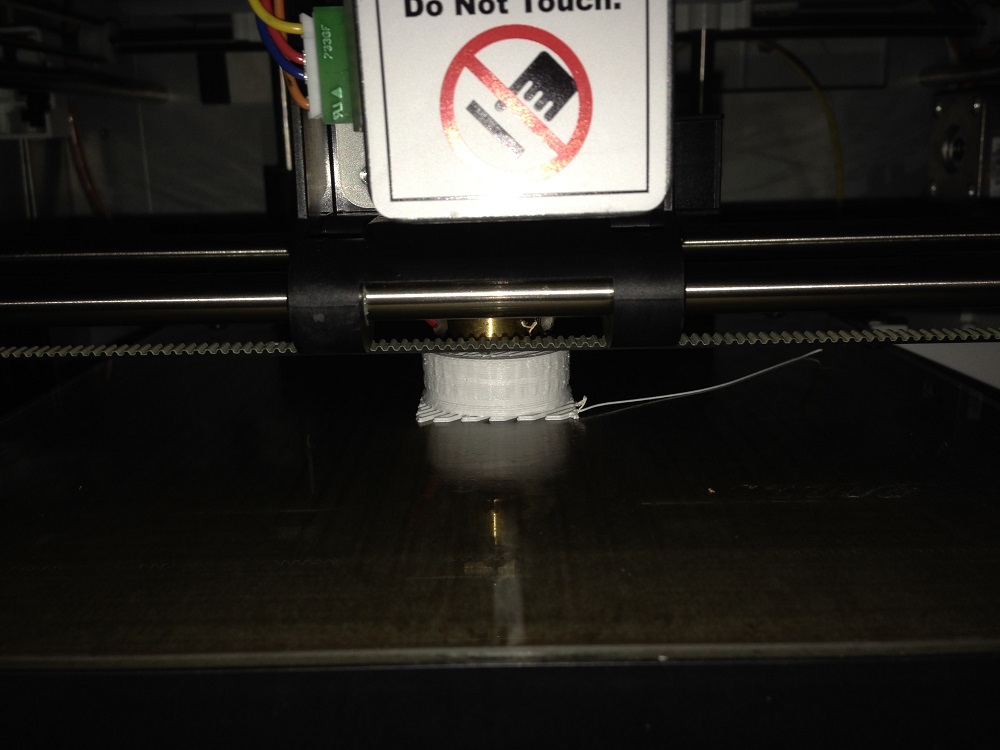 In the middle of a build. Notice that there is a line of polymer coming from the right. This is supposed to be an auto-purged line of polymer from the beginning of the build that is to remain on the side of the platform, but more times than not, it gets dragged over to the build.
The slicing software used by the Da Vinci printer is called XYZware and somewhat resembles the MakerWare used by MakerBot Replicators. However, it does not have as many features. For example, to scale the STL file before printing, you have to drag or scroll a slider rather than just input a percentage scale factor. This makes accurate scaling difficult as the slider jumps from say, 105% to 111% in one notch, which makes printing at a scale of exactly 110% extremely difficult. Sometimes, you can get the slider to land on the percentage you want by sliding it back and forth a few times, but it’s an inconvenience if I have to revisit the CAD file to scale consistently. Advanced features are available, allowing the layer height and build density to be adjusted, which is quite nice and allows for a certain level of user optimization as one gains experience on this machine. Before hitting print, a dialog box pops up to inform the user the time it will take, the length of polymer it will use, and the amount of polymer left in the cartridge.
Another nice feature is that as the dialog box appears, the model that the user uploaded previously is transformed into a “sliced” preview, which shows exactly what you can expect on the platform at the end of the build, complete with any supports or rafts which are also shown. If you don’t like what you see, simply click cancel on the dialog box, correct any mistakes, and reimport the file into XYZware. This is especially useful if the STL file contain surface errors (open polysurfaces, unjoined intersections, etc.) that is not apparent in the CAD program. The user’s keen eye can pick up on the errors on the sliced previews, and prevent the waste of both time and polymer. It would be nice if the software itself can diagnose model errors. Overall, the slicing software could use improving. In its current state it works after a bit of trial and error, which suggests that its development was rushed in order to bring the product to market quickly. I was told that there would be a software/firmware update this summer which would allow for the Da Vinci 1.0 to print in PLA in addition to ABS. Hopefully along with it there would be an overhaul of the slicer as well.
SUMMARY
While marketed as a budget printer, the Da Vinci 1.0 certainly does not feel like one. As I write this I have used the printer on average once a day for 2 weeks without a major hitch. I have printed around 15 items ranging from cell phone and tablet cases, toys, and spare parts for repair. I have stumbled on a few botched print jobs on it and wasted time and material, but a friend recently told me that such blunders are unavoidable even on $10k+ Stratasys machines. For the Da Vinci, here is what I liked, disliked, and felt indifferent about –
Liked: Exceptional value, generous build size, easy to set up, easy to clean, warranty, aesthetic appeal, safety (caution signs all over, prompts the user to close flaps)
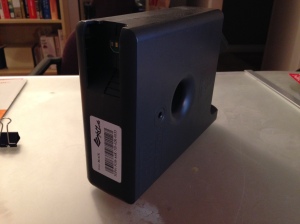
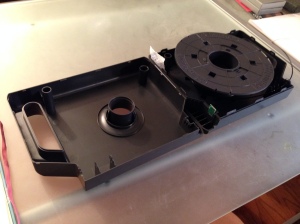
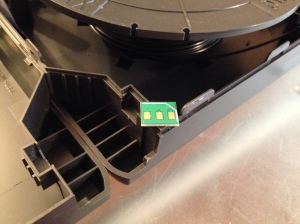
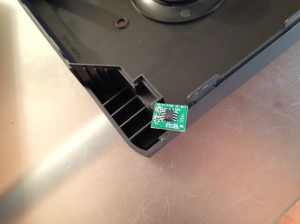
Indifferent: Proprietary cartridges, average speed, applying glue to the build platform instead of tape
Disliked: Noisy operation (groaning and screeching sounds), slicing software lacks features, platform heating is slow and not in sync with the extruder (extruder reaches temp. first, waits for the bed to finish heating, wastes energy)
After literally seeing my many ideas materialize before my eyes, I have no regrets with the Da Vinci 1.0. Only time will tell how I perceive it a year or two from now. It might be too early to tell whether a new bar has been set by XYZprinting, but I’m confident the industry is being pushed in the right direction by their product. For now, they have certainly won me over.
